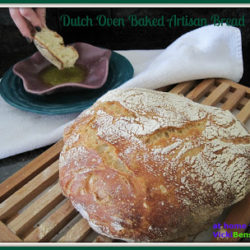
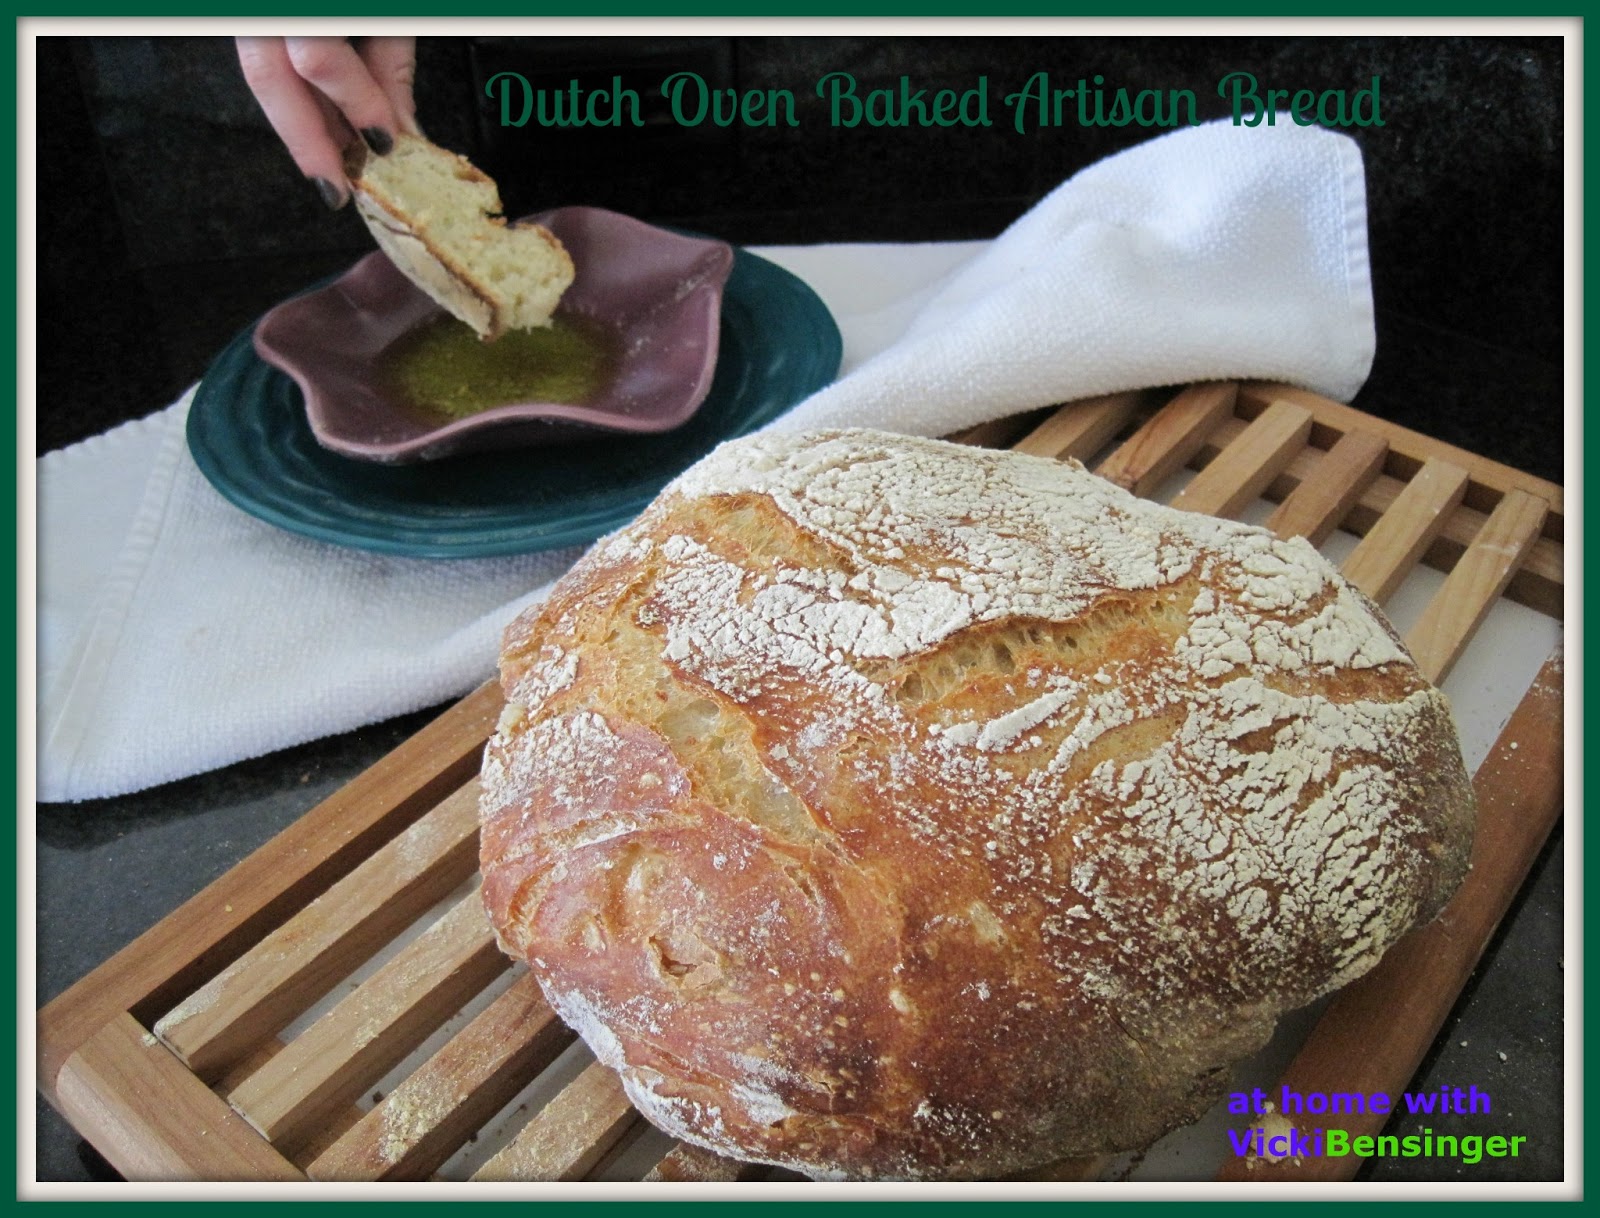
Dutch Oven Baked Artisan Bread!

If you’ve ever been to Italy I’m sure you’ll remember the delicious bread brought to your table at lunch and dinner. Dark, crunchy, crisp crust, light airy dough inside, too difficult to slice with a knife, but perfect for tearing and dipping into rich green extra-virgin olive oil. There’s something rustic yet magical about the moment, that can only be experienced in Italy – until NOW! Now YOU can bake this bread, and have it hot from your oven, at home.
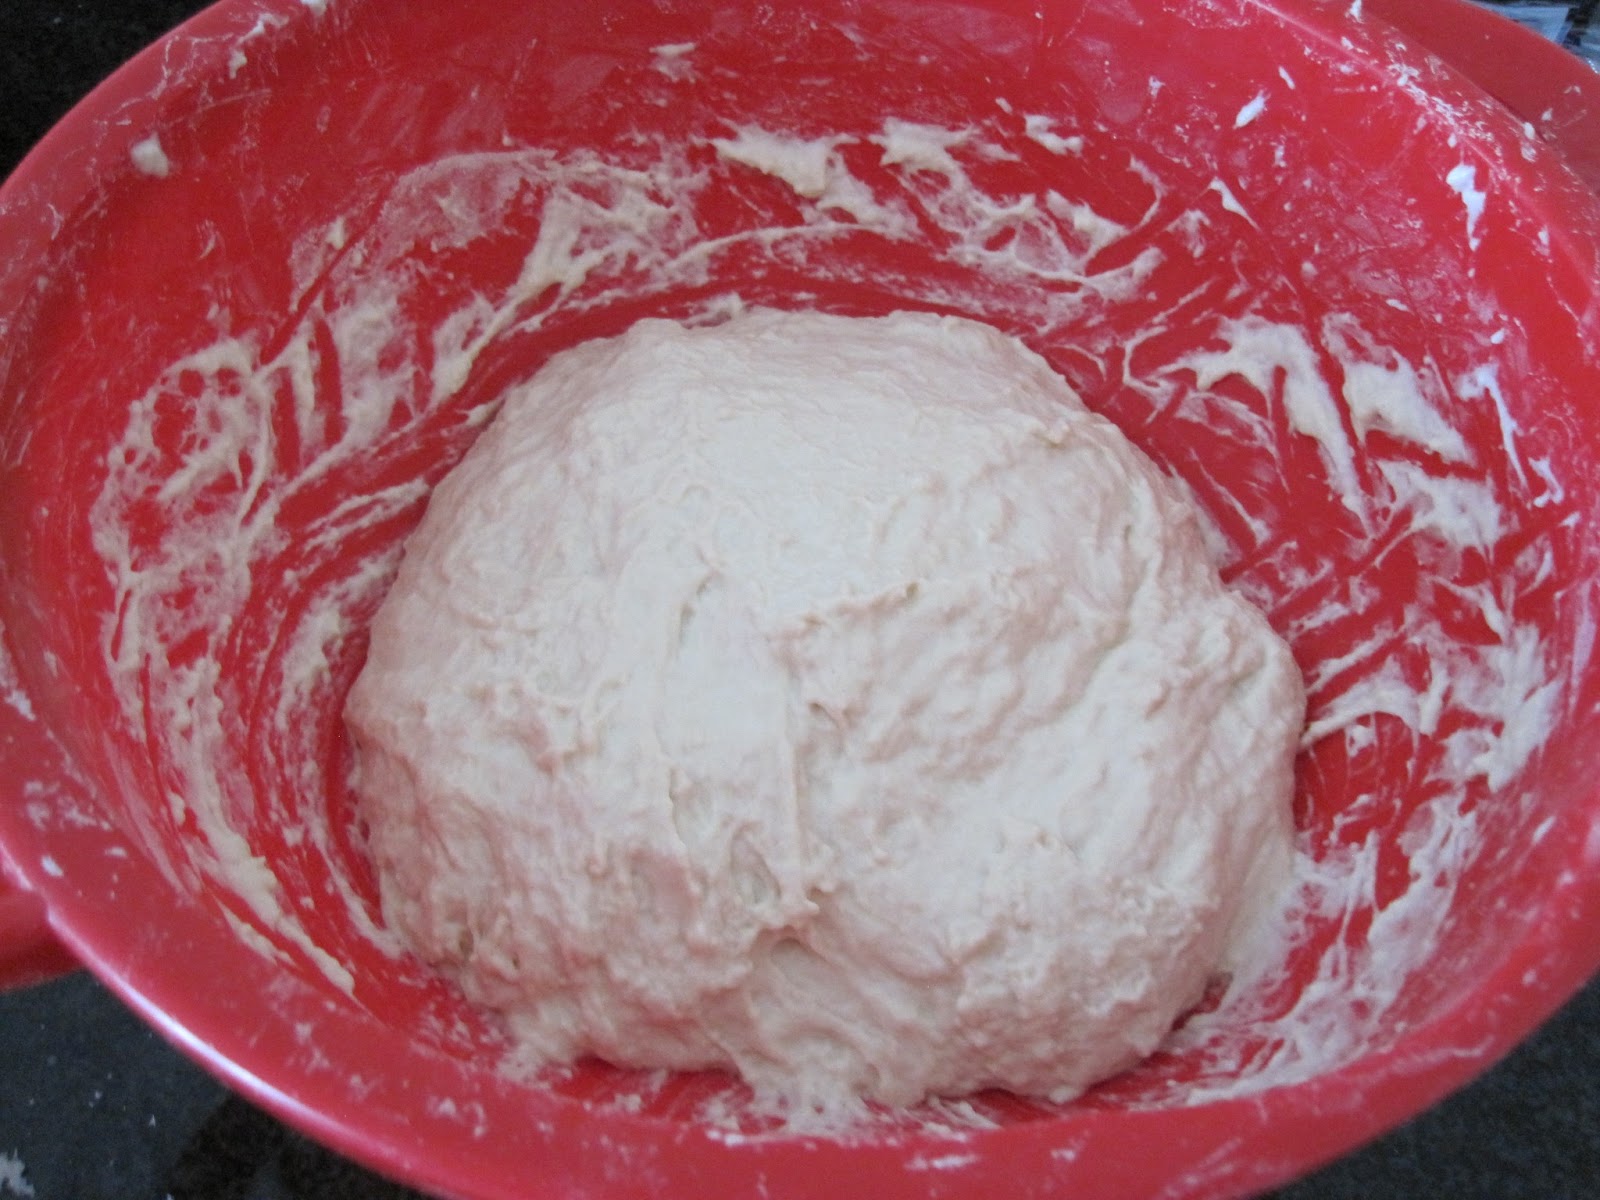
Unlike many breads, artisan bread making takes time, and specific techniques: fermentation, pre-ferments, autolysing (resting), proofing, punching down and folding. Accurate measurements, time, and temperature are crucial. These small batches of handcrafted breads with a thick and hearty crust, can be made with white or whole wheat flour, generally consisting of yeast, sugar, salt, corn oil, milk or water, requiring the dough to rise twice before baking.
The recipe below from Matt Carlson of Big Sky Bread and Pastry with its short list of ingredients – flour, water, yeast and salt, is best measured with a food scale for accuracy, then baked in a Dutch Oven. After reading about this recipe in an article posted by Sydne George, I was instantly intrigued and knew I had to try it.
My family avoids overloading on carbs these days, but this recipe was hard to resist. After reading over the detailed instructions 4 times, adding my own side notes, I was ready to tackle it.
I was nervous that it wouldn’t turn out perfect, it wouldn’t proof long enough or end up underdone or dry – I’m not a bread baker! Instead, the recipe, truly easy to follow, was perfection – dark, crispy crust, with soft fluffy interior. Oh, and my family gobbled it up for dinner!
You must try this Dutch Oven Baked Artisan Bread!
BASIC WHITE FRENCH BREAD
You will need a food scale for this recipe, as measurements are listed in grams. (I've added U.S.measurements if you don't have a scale but for best results a scale is recommended).
Ingredients:
863 grams King Arthur all-purpose flour (3 3/4 cups)
634 grams water (at 80 degrees Fahrenheit)(2 3/4 cups)
3 grams instant yeast(1 tsp.)
17 grams salt(1 Tbsp.)
Directions:

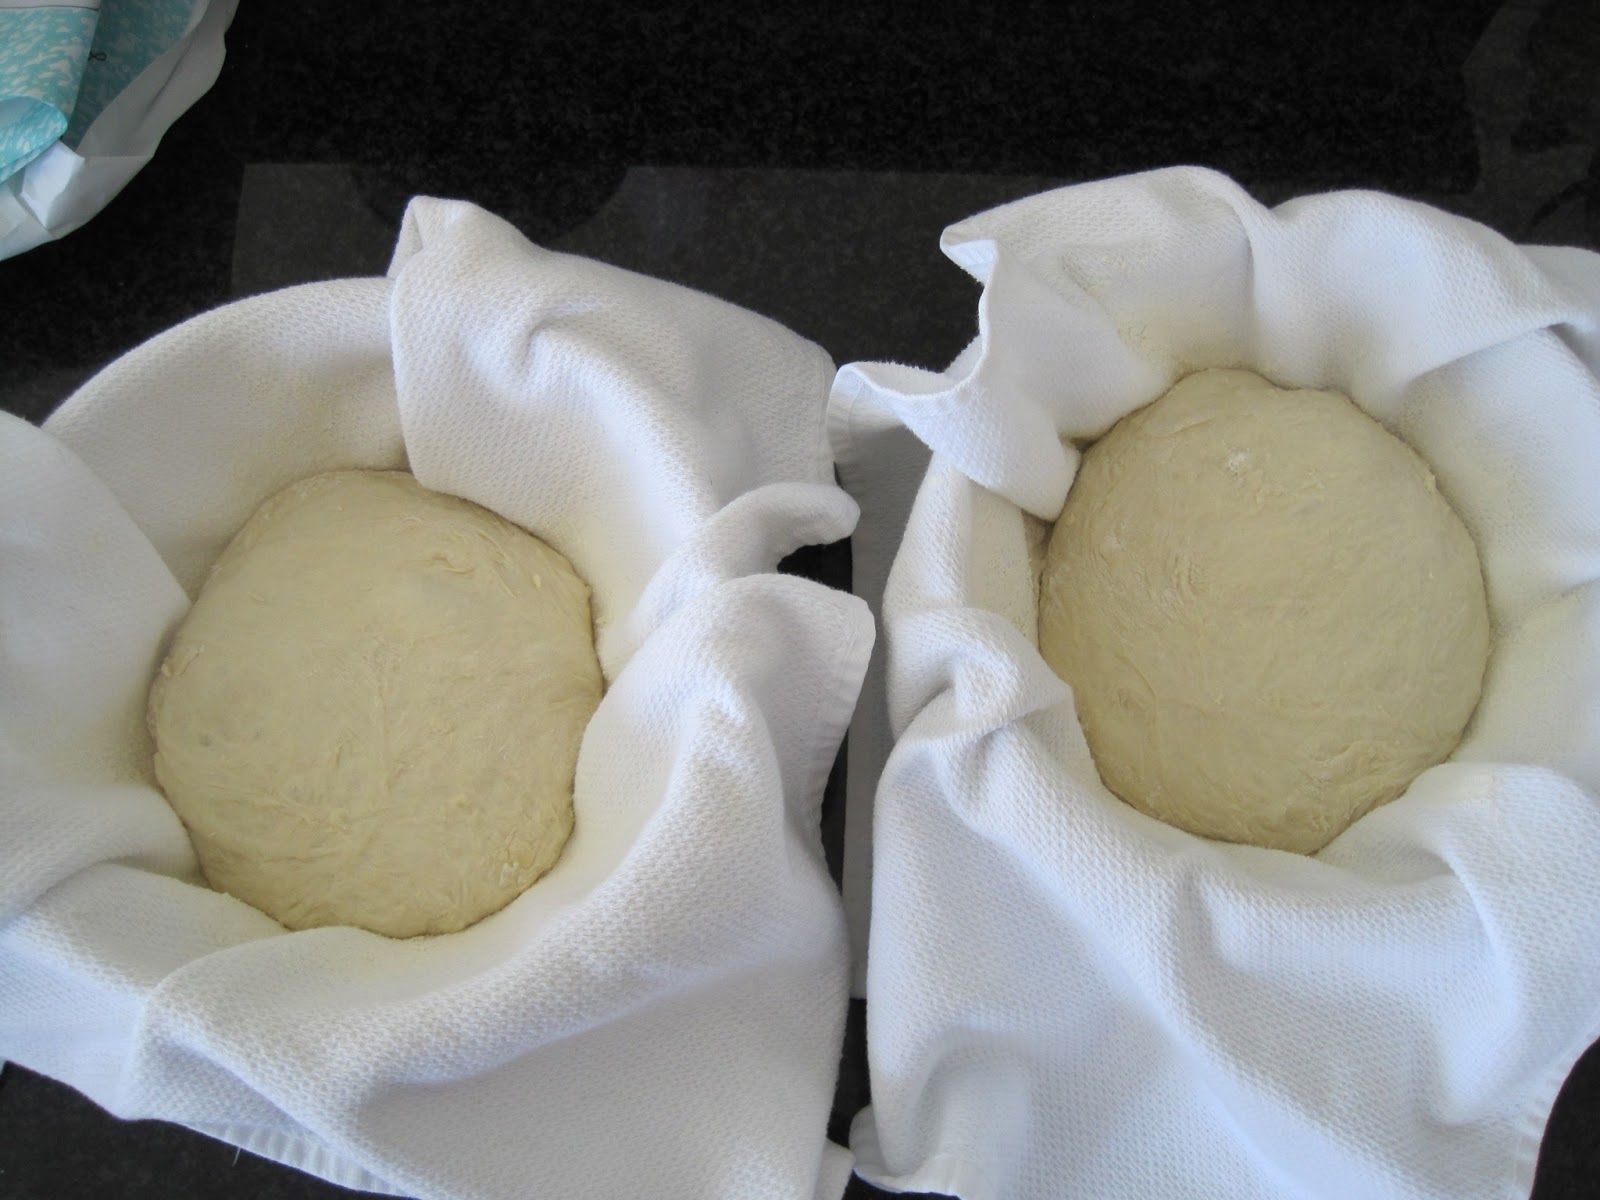
5. Divide dough in half (750 grams each). Then round them into balls placing them seam-side down in two bread-proofing baskets or two bowls with towels in them. (If using the latter, be sure to dust towels with a decent amount of flour so dough doesn't stick.. Cover baskets with plastic wrap). Leave bread to proof for 1½ to 2 hours. It will hold an indentation but also spring back about halfway after being poked.
Note: I started this at 10:00am and had to leave for the evening at 4:30pm. I allowed loaves to proof for two hours then prior to leaving, placed both bowls, covered, in refrigerator until morning. Removed from refrigerator at dawn, giving 1 1/2 hours to proof again, and come to room temperature before placing in oven..
6. Now that your Dutch Oven has preheated for 45 - 60 minutes at 450F degrees, remove it from the oven - you're ready to bake! Set pot on top of a hot pad, remove lid and set aside. Sprinkle inside bottom of Dutch oven with a dusting of flour. Working quickly, lightly dump your dough onto a floured counter. Seams should be up - you should see a cracked looking surface. (DO NOT flip dough over - you want cracks.) Using both hands, pick dough up gently, placing inside Dutch oven - remember it's hot! Place lid back on, and return to oven.
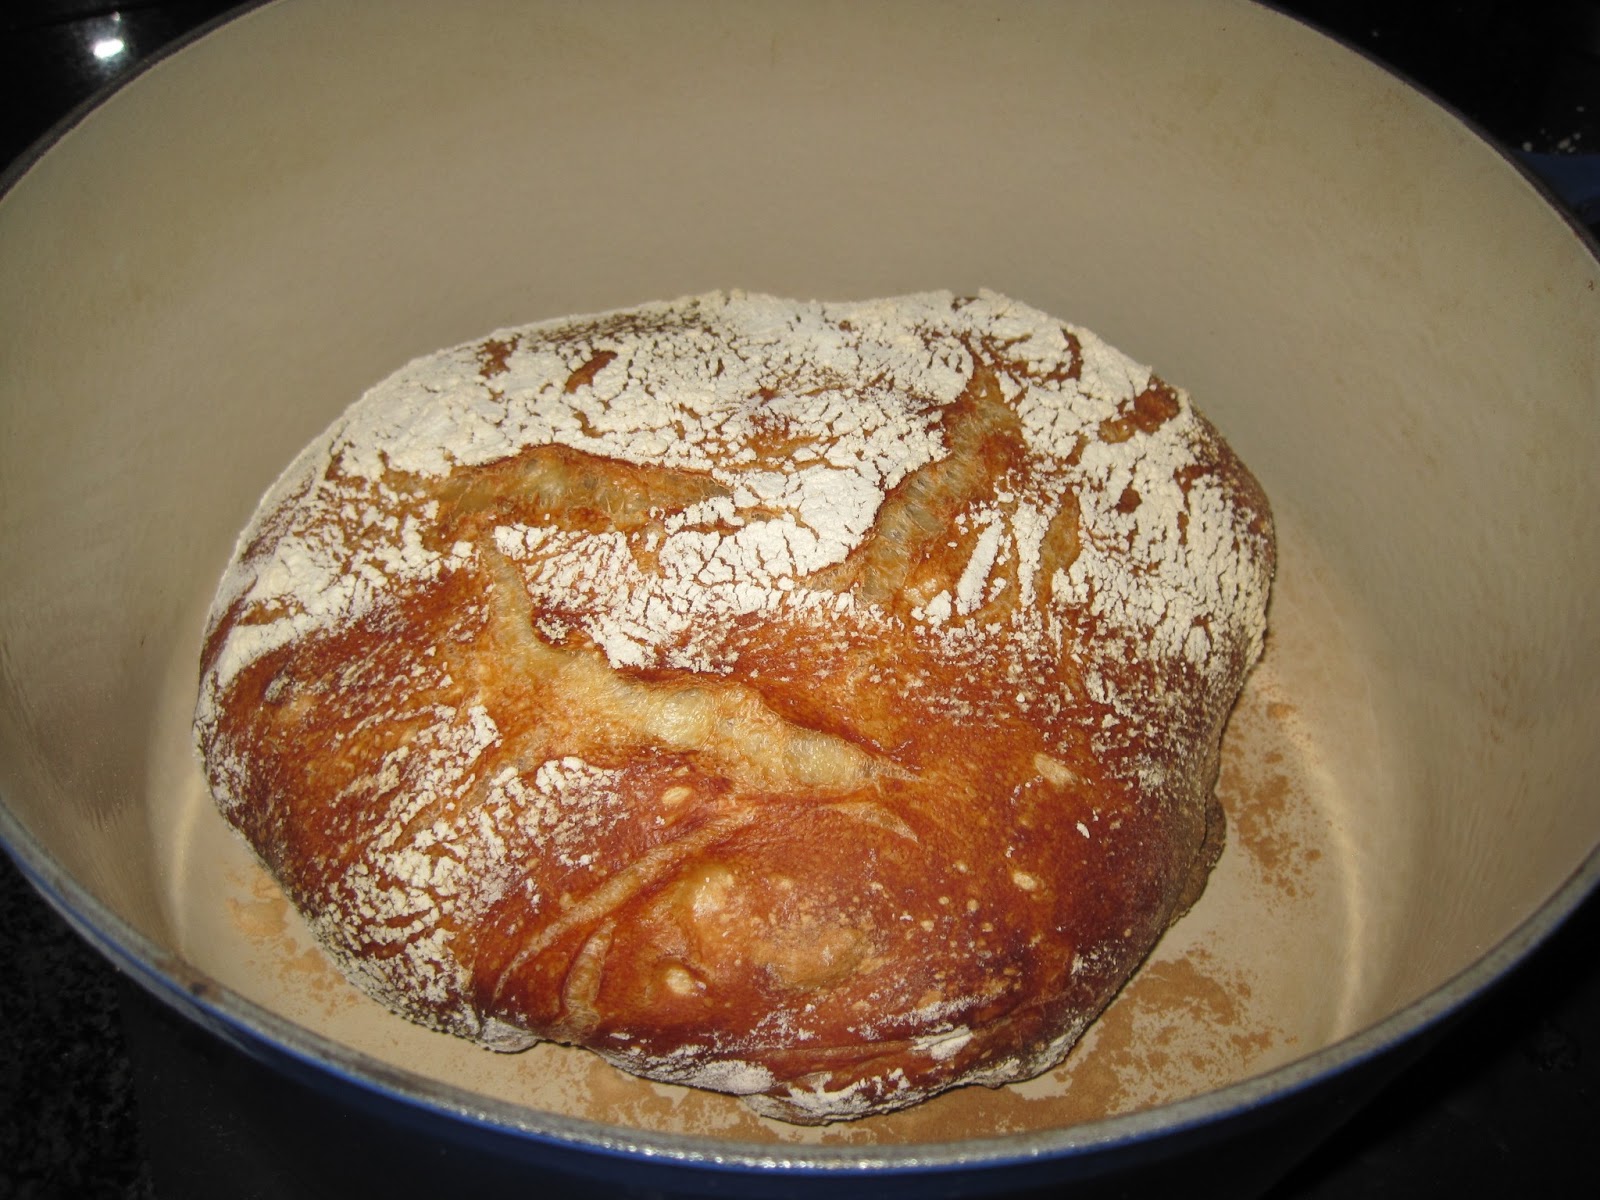
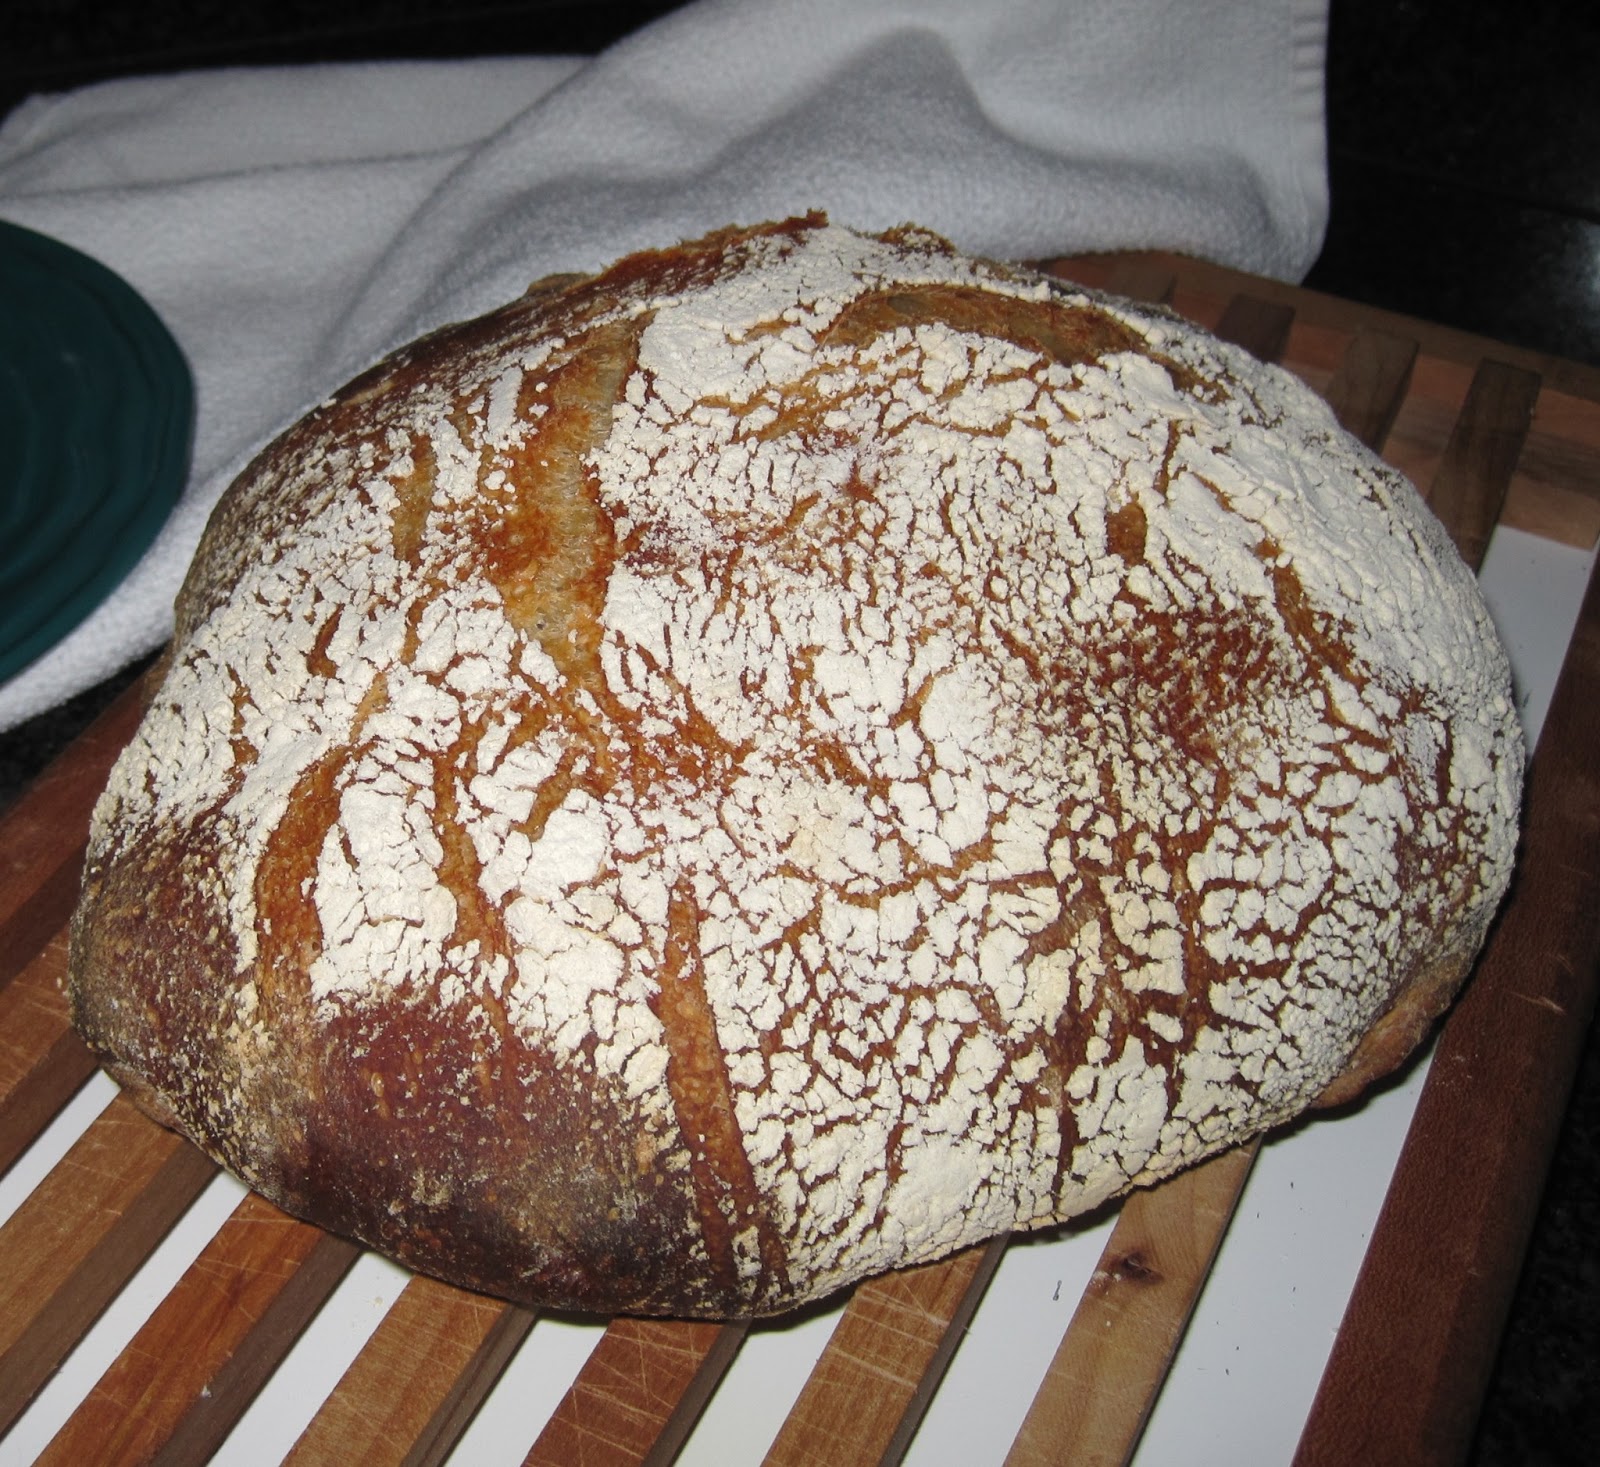
7. Bake for 25 minutes. Remove lid and bake for another 15-20 minutes until bread is dark brown and beautiful.
Enjoy!!!
Recipe by Matt Carlson