The Perfect Apple Pie
For Thanksgiving I like to make everyone’s favorite dishes, even if that means we have an entire dessert for each person and side dishes that fill the table. I’m not sure how that happened, but over the years I suppose I just wanted everyone to look forward to their special dish.
Two days before Thanksgiving, my daughter who had come in town asked if we could make an apple pie. I haven’t made too many pies and certainly don’t consider myself an expert. I said yes, but let her know my short comings. Still I was up to the challenge even if there was an army of food to be made.
I found several recipes that sounded great and emailed them over for her to look at. She asked me to pick. I selected The Perfect Apple Pie by Cenk Sonmezsoy that I found on Zoe Bakes website, a food blogger and baker I follow with quite a few cookbooks under her belt.
I enjoy watching Zoe bake away on Instagram and her site, always having a blast while cooking to her favorite tunes. I’ve tried several of her recipes so knew this recipe would be great.
What I failed to do which isn’t like me, was to read the recipe from start to finish before deciding to make it. The photo alone had me sold.
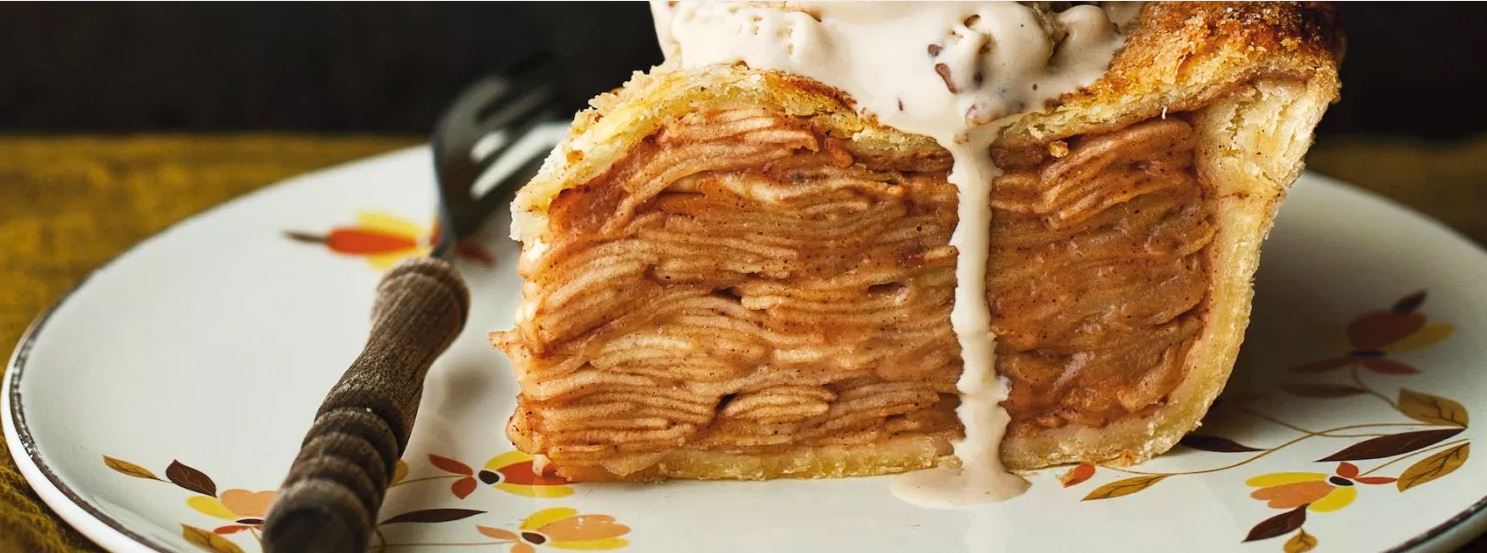
(photo by Cenk Sönmezsoy)
My daughter didn’t read the recipe ahead either so after getting all the ingredients home we realized that this recipe was quite involved. What I loved about this recipe was that Sönmezsoy uses the entire apple (including skins & cores), so nothing is wasted. It was a process I will definitely use again.
Squeezing in a quick recipe would have been fine, but this recipe took what seemed like forever to complete. I’m sure it didn’t help that we had a million other things on our plate. We started at around 11am making the dough, then allowing it to rest in the refrigerator while we ran more Thanksgiving Day errands. It was at 11am that we realized what was actually involved.
By the time we got back home and went through all the steps, our Perfect Apple Pie was finished baking at 1:00am! OMG we were exhausted and Thanksgiving was that evening. We still had time for sleep but had to be up bright and early.

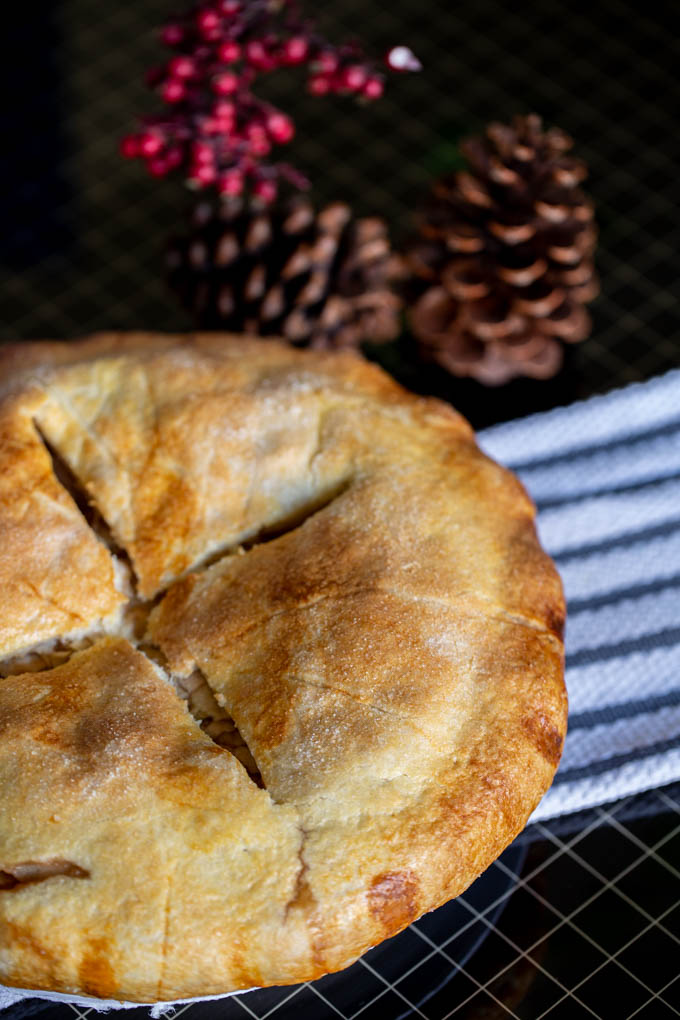
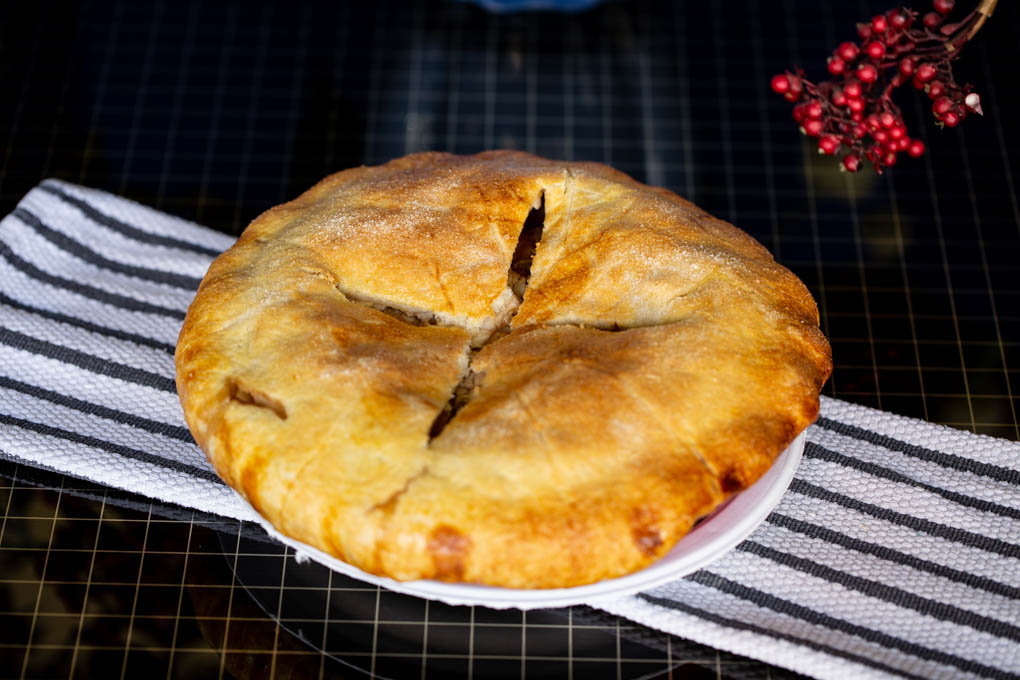
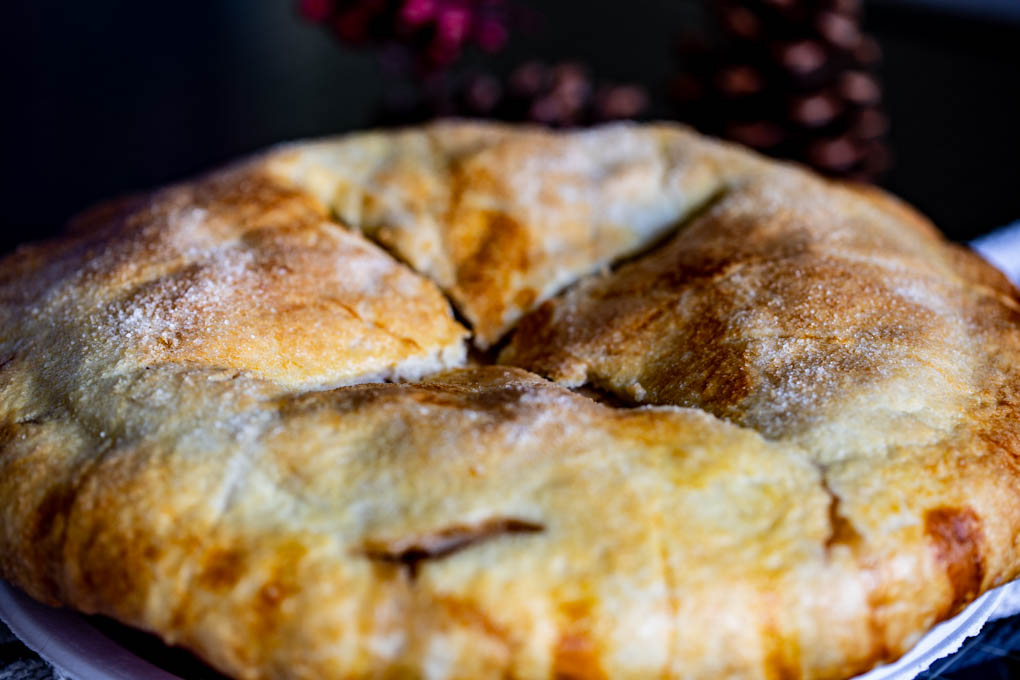
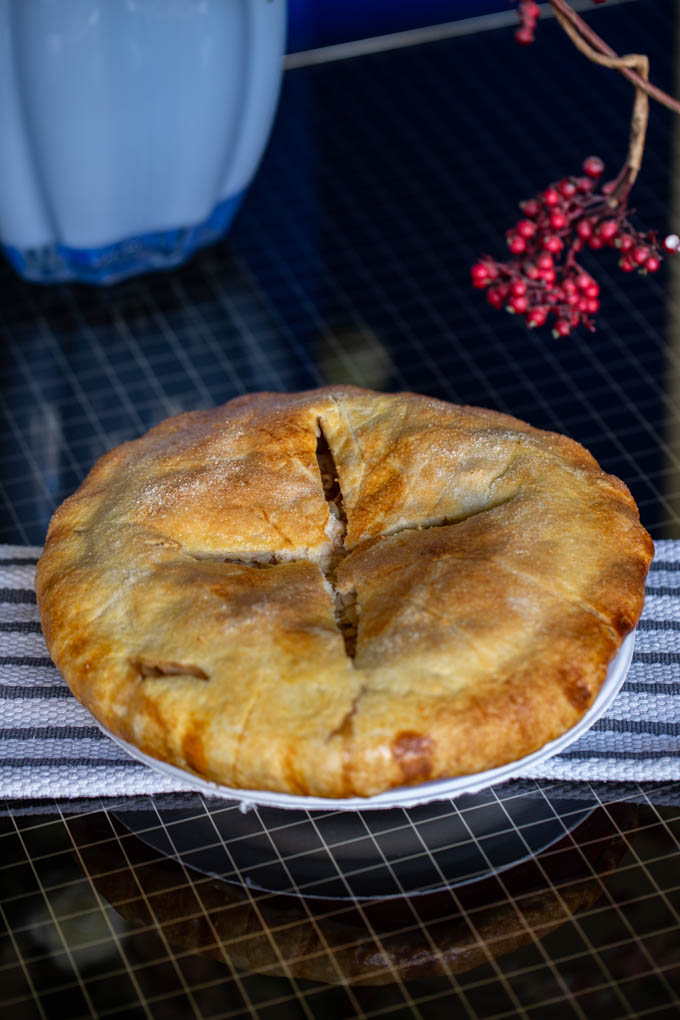
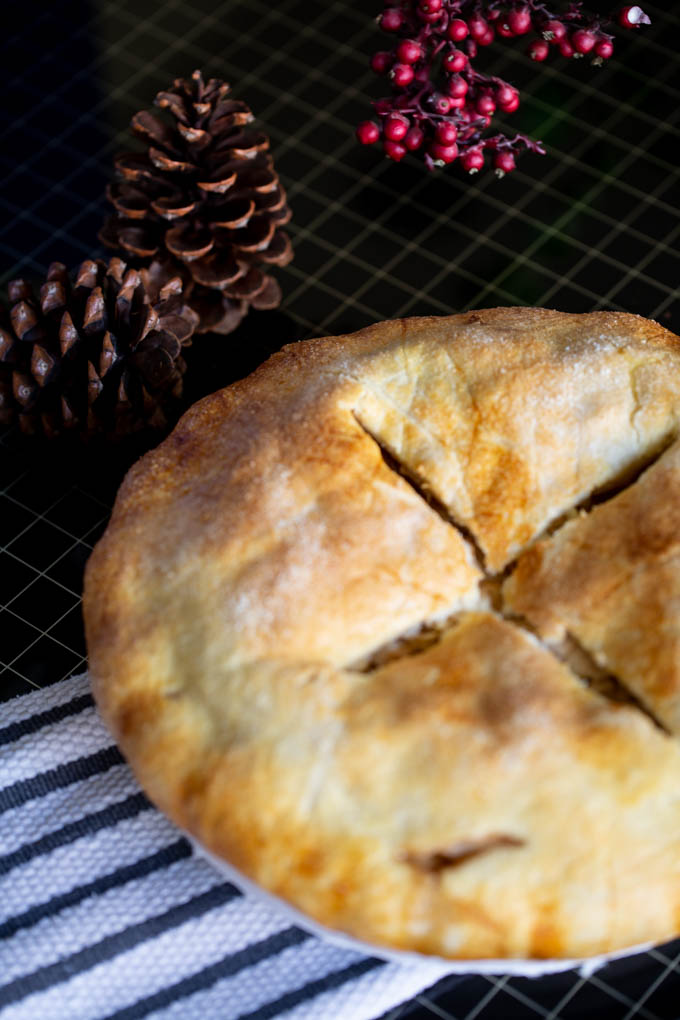
We thought the pie looked stunning! It was definitely a showstopper! We did skip the final step of putting the assembled pie in the refrigerator for 30 minutes prior to baking. We honestly didn’t have it in us to stay awake a minute longer. Although utterly ridiculous when we spent so much time prepping, but we both made that conscious decision.
The top of the pie dough did start to droop a bit far down the pan while baking but we thought it actually added some character to the pie.
If we ever make this arduous pie again, we would definitely cut back substantially on the amount of lemon juice suggested – 1/3 of a cup. We followed everything perfectly, but in our opinion and those that tasted it, with the exception of two, they agreed the lemon juice was overpowering. Is it necessary to add lemon juice?
We had 5 desserts for 8 people. Most everyone tried a tiny bite of each one. As you can imagine though, after a huge Thanksgiving dinner there wasn’t much room left for dessert. Most of us agreed that the Perfect Apple Pie would have be absolutely perfect with a little less lemon juice.
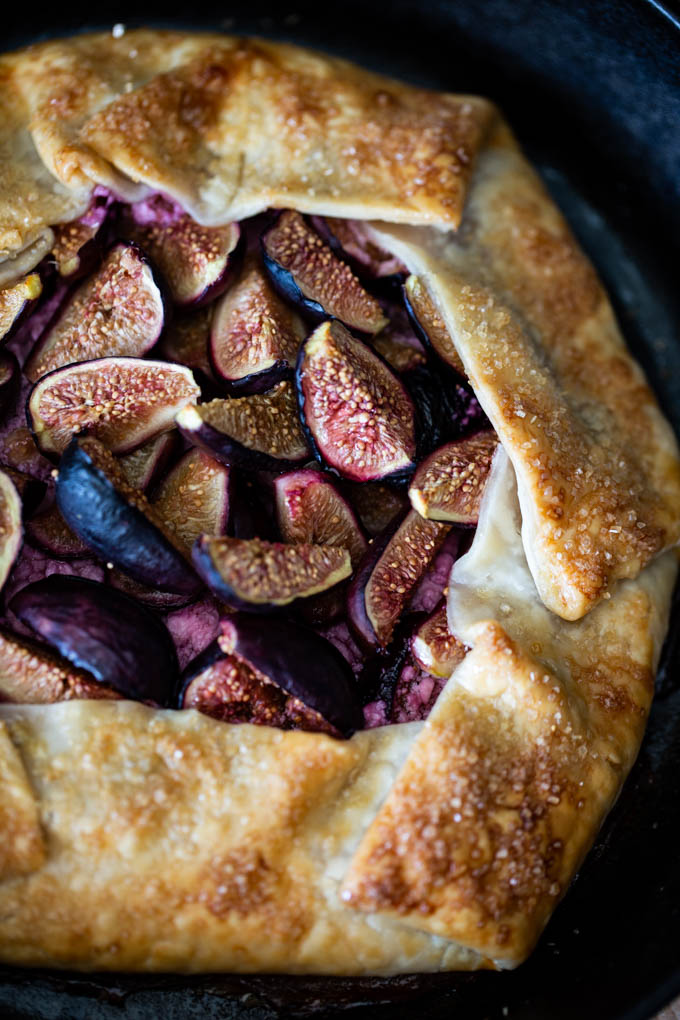
If I had it to do this all over again, having just two days before Thanksgiving, I’d make an Apple Galette. Galette’s are quick to make and turn out perfect every time! They may not be a show stopper, but certainly every single morsel would be eaten and if not, at least you didn’t spend hours making it.
Live & Learn.
That said, had we made the pie earlier in the week allowing us more time for prepping we probably wouldn’t have felt this way.
If you decide to attempt this Perfect Apple Pie, please be sure to carefully read all the steps prior to cooking, as you should with all recipes, and add a fraction of the lemon juice requested.
I’d also suggest making the dough a day ahead to spread out the prepping process.
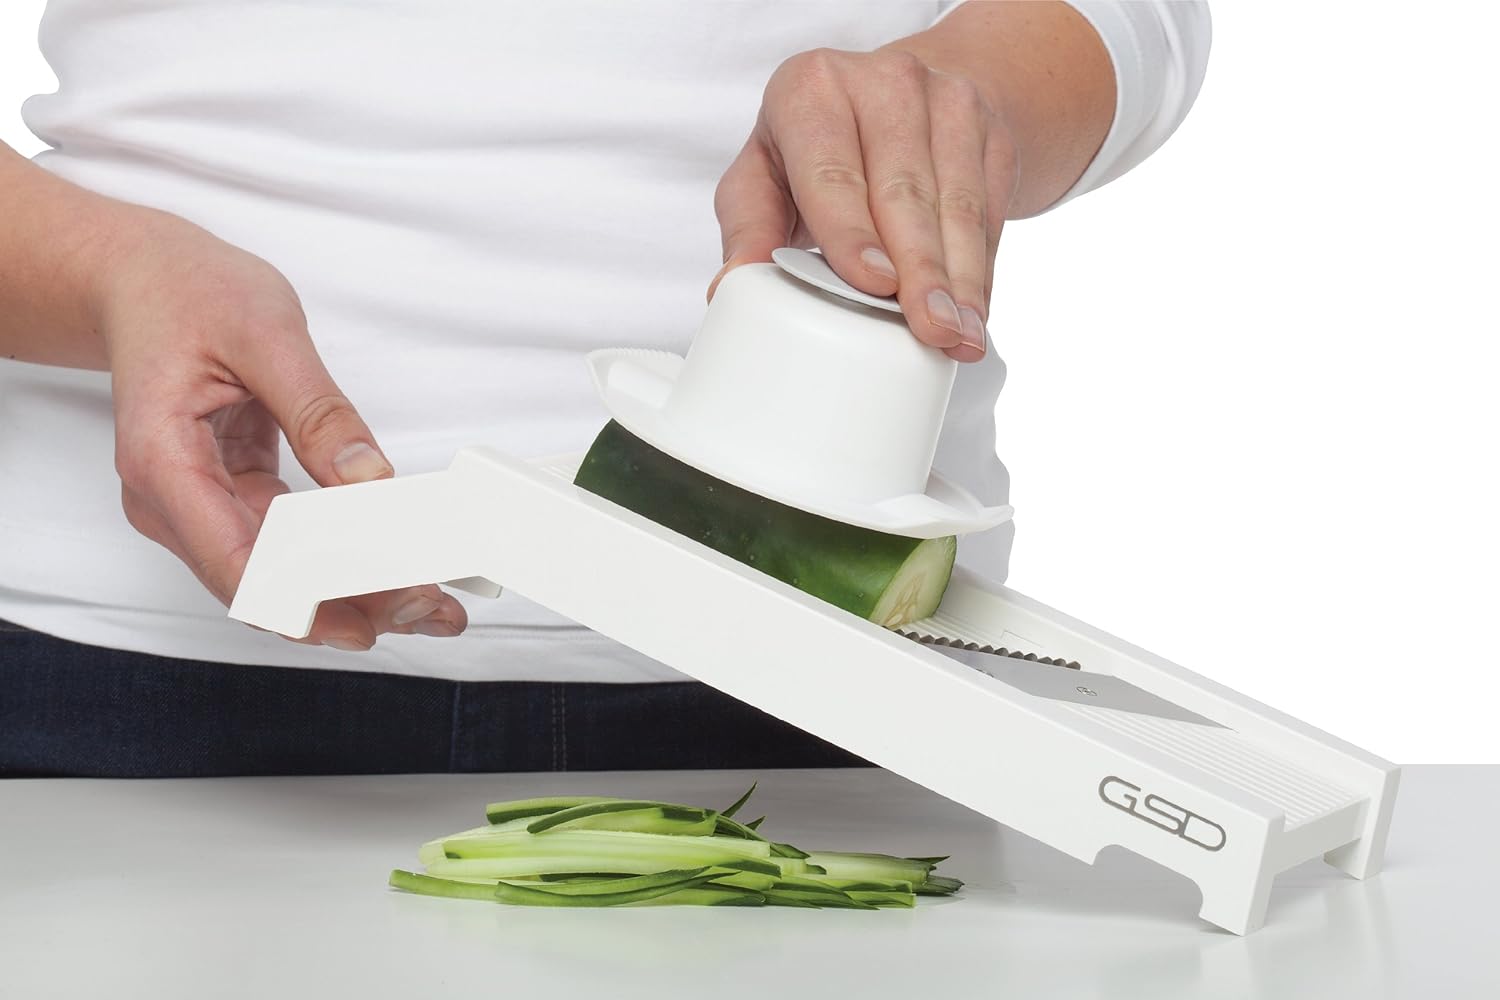
Having a mandoline without question is key to having perfectly thin slices of apple, allowing each slice to soak up the luscious spices within. Plus using a mandoline also cuts down on the time it takes to slice each apple.
I think everyone that likes making pies or who wants to try their hand at pie making to try this recipe. There were so many special techniques plus methods that I will consider for other recipes.
If you try this Perfect Apple Pie please let me know your thoughts by tagging your photo with comments #vickibensinger on Instagram.
How was your Thanksgiving, and what desserts did you have? Did any not turn out as hoped? What turned out even better than expected?
Perfect Apple Pie
Ingredients:
Crust
- 2 1/4 pounds Flaky Pie Dough, rolled out as two 13-inch rounds for a double-crust pie and chilled
Filling
- 2 1/4 pounds granny smith apples
- 2 1/4 pounds sweet and firm apples, such as Fuji or Gala
- 1 cup granulated sugar
- 1/3 cup freshly squeezed lemon juice
- 3 tablespoons cornstarch
- 2 teaspoons ground cinnamon
- 1 1/2 cups water
- 3 1/2 tablespoons unsalted butter
- 2 teaspoons pure salep, glutinous rice flour OR 1 Tbsp. potato starch
- 1/4 teaspoon fine sea salt
Glaze
- 1 large egg yolk
- 1 tablespoon heavy cream
- 1 tablespoon granulated sugar
Flaky Pie Dough (makes 17 ounces, enough for one 13-inch galette dough) - double recipe
- 10 tablespoons plus 2 teaspoons cold unsalted butter
- 1/3 cup ice water
- 1 teaspoon cider vinegar
- 1 2/3 cups all-purpose flour
- 1 tablespoon granulated sugar
- 1/2 teaspoon fine sea salt
Directions:
For the dough (double recipe if making pie)
- Cut the butter into 1-inch pieces and freeze for 20 minutes. In a small pitcher, stir together the water and vinegar and refrigerate until needed.
- In the bowl of a food processor fitted with a metal blade, process the flour, sugar, and salt until blended. Add the butter pieces, pulsing until they are the size of hazelnuts. While pulsing, gradually drizzle in all but 2 tablespoons of the cold water–vinegar mixture through the feed tube until the dough resembles coarse meal.
- To test it, squeeze a small piece of the dough in the palm of your hand. If it mostly sticks together, you have added enough liquid. If not, gradually pulse in the remaining 2 tablespoons of water-vinegar until the dough holds together when squeezed. Empty the dough into a medium bowl and gently press it into a ball with your hands. For a double recipe, divide the dough into two balls (17 ounces; 480 grams each) and follow the steps below for each of the balls.
- Wrap the dough with plastic wrap, flatten it into a 6-inch disk, and refrigerate for at least 4 hours. (The dough will keep, double-wrapped with plastic wrap, in the refrigerator for up to 3 days or in the freezer for up to 2 months. Thaw overnight in the refrigerator before using.)
- Flatten the dough between two large sheets of parchment paper into a rough disk about 9 ½ inches in diameter by pounding it with a rolling pin. Roll out the dough into a round about 13 inches in diameter, occasionally flipping the dough with the parchment, then lifting and smoothing the parchment to avoid creases. If the dough becomes soft and sticky as you roll, transfer the dough and parchment to a baking sheet and freeze for 5 to 10 minutes before continuing.
- For a 10-inch double-crust pie, peel off the top parchment sheets and trim the edges with a pizza cutter or paring knife to form two neat 13-inch rounds. Cover with the top parchment sheets, stack the covered dough's on a baking sheet, and refrigerate for 30 minutes.
- Gather the scraps into a small ball, wrap with plastic wrap, and refrigerate for patching the crusts later if needed. The chilled dough rounds are now ready to use in recipes.
For the crust
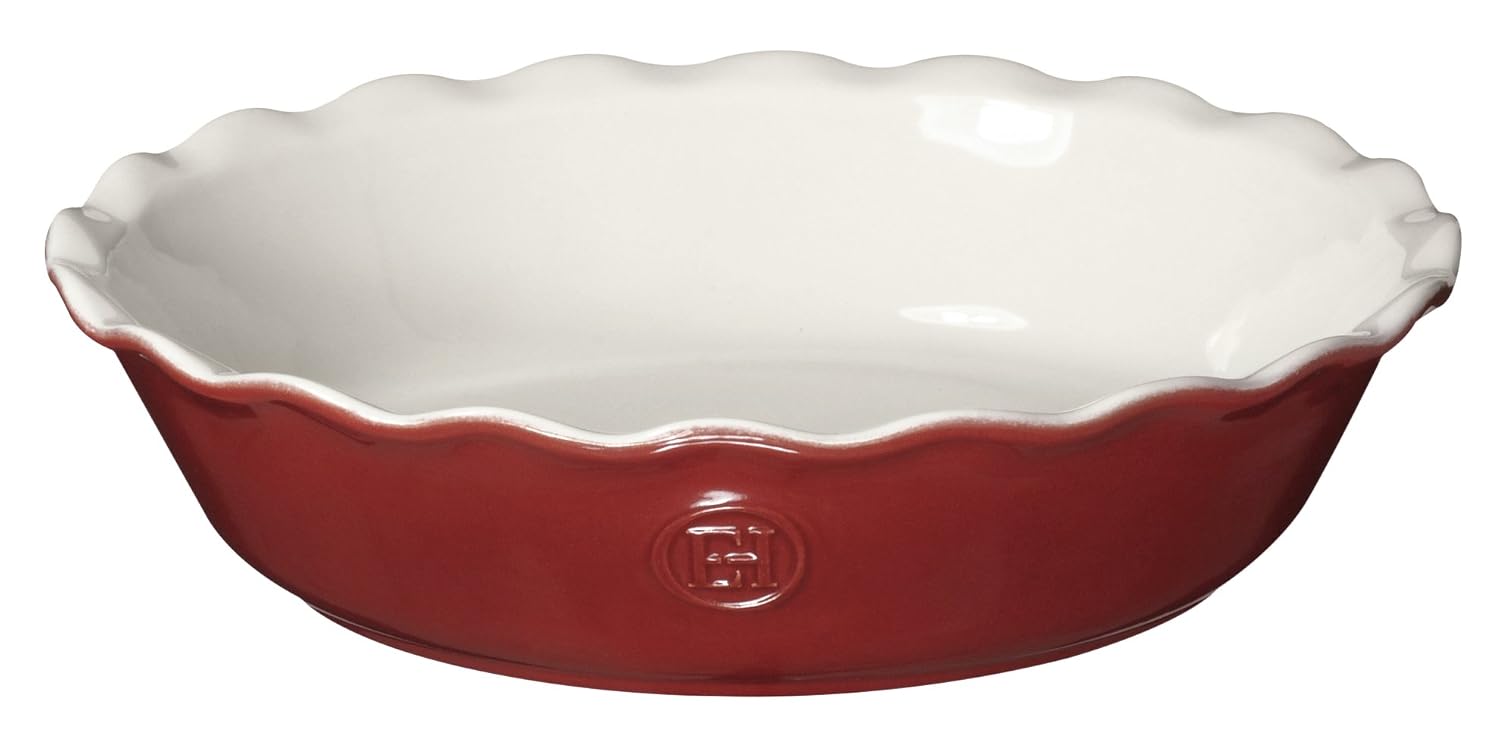
- Peel away the parchment from one of the dough rounds, leaving the other round in the refrigerator. Center the dough over a 10-inch fluted pie dish that is 2 1/2 inches deep, easing it across the bottom and up the sides without pressing the edges onto the sides of the dish. Trim the edges of the dough to leave a 1/2-inch overhang. Cover with plastic wrap and refrigerate until needed.
For the Filling
- Peel, core, and cut both types of apples in half lengthwise (top to bottom). Do not discard the cores and peels. Use a mandoline or sharp knife to slice the apples crosswise into 1/16- to 1/8-inch-thick slices. Transfer the slices into a bowl large enough to comfortably toss them. Add the sugar, lemon juice, cornstarch, and cinnamon, tossing them gently to avoid breaking up the apple slices too much. Let the apples macerate until they release their juices, about 20 minutes.
- Meanwhile, coarsely chop the apple cores and peels and transfer them to a medium saucepan. Add the water, cover, and bring to a boil over high heat. Reduce the heat to medium and cook, partially covered, until 1/2 inch of liquid is left in the pan, 10 to 15 minutes. Remove the pan from the heat and strain the mixture through a mesh strainer into a separate medium saucepan, pressing on the solids to extract all of the apple stock.
- Set mesh strainers over two large bowls, roughly divide the macerated apple slices with their juices between the strainers, and let them drain for 30 minutes.
- Transfer the apple slices from the strainers to a large bowl, cover with plastic wrap, and refrigerate until needed. Scrape the juices from the two bowls into the apple stock in the pan, and cook over medium- high heat, stirring occasionally, until it is reduced to 1⁄2 cup, 15 to 30 minutes, depending on how much juice the apples have released. Watch closely toward the end to prevent scorching.
- Remove the pan from the heat, immediately add the butter, salep, and salt, and whisk until blended. (If using glutinous rice flour, cook an additional 2 minutes, whisking constantly.) Scrape the apple sauce into a bowl and refrigerate, uncovered, until it reaches room temperature, 15 to 20 minutes. Once cool, the mixture will be sticky and as thick as porridge.
For the pie
- Stack about one-quarter of the chilled apple slices in concentric circles over the bottom of the chilled crust. Spread about one-third of the apple sauce evenly over the slices. Continue layering in this manner until you have used all of the apples and sauce, ending with apple slices. The slices will rise about 1 inch above the lip of the dish. If the edges of the dough are very soft, freeze the pie before continuing, uncovered, until the edges are firm, about 10 minutes.
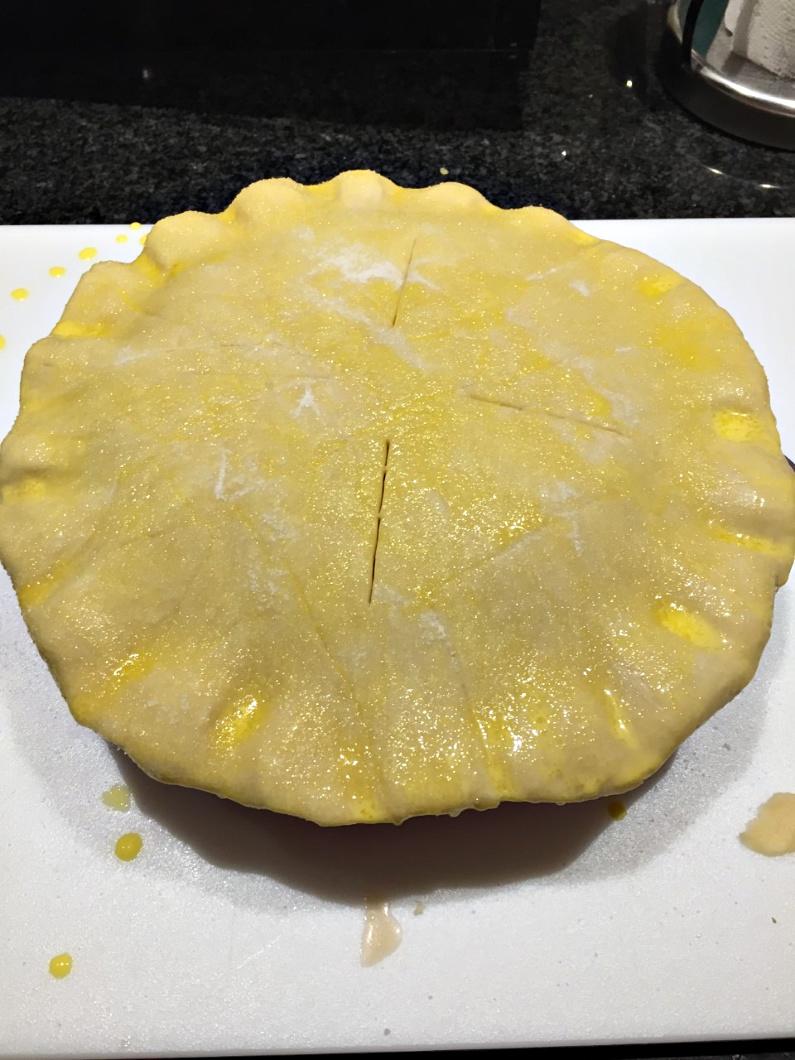
- Meanwhile, make the glaze. In a small bowl, whisk the egg yolk and heavy cream with a fork until blended.
- Remove the pie from the freezer and the second dough round from the refrigerator, peel away the parchment, and center the dough over the filling. If needed, trim the dough to make a 1-inch overhang. Tuck the overhang under the bottom crust and press the dough firmly onto the fluted edges of the pie pan to seal it. Brush the dough with the glaze and sprinkle the sugar evenly over the top. Starting about 1 inch from the center, cut 4 evenly spaced slits 2 inches long as steam vents on the top crust. Freeze the pie, uncovered, for 30 minutes.
- Meanwhile, set a rack in the lower third of the oven, center a rim- med baking sheet lined with aluminum foil on the rack, and preheat the oven to 400°F.
- Set the pie on the baking sheet in the oven and bake for 20 minutes, then reduce the oven temperature to 350°F and continue baking until the crust is golden brown and the juices are bubbling up through the slits, about 55 minutes longer.
- Transfer the pie to a wire rack and let cool for at least 3 hours. Serve warm or at room temperature, with salted caramel ice cream if you wish.
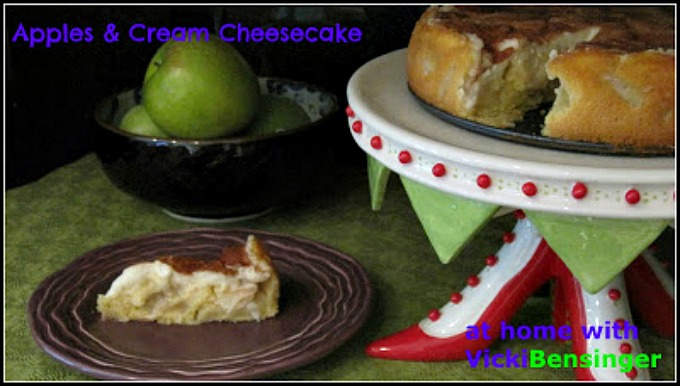
Hungry for more? Savor these!

Tools used to make the Perfect Apple Pie:
 Hi, I’m Vicki Bensinger! I have been teaching culinary classes throughout Missouri since 1992. I offer personalized private culinary classes for individuals and small groups in the comfort of your home or organization.

A beautiful pie. I’m not a baker. I think it’s just a lack a patience. But what is this salep?
Salep powder is a starch used in Turkish ice cream. You can use potato starch, tapioca or cornstarch in place of it. I’m glad you mentioned it because I forgot to put that I used potato starch in place of it.
Well, I bet you and your daughter will talk about the Thanksgiving you stayed up half the night to make this apple pie! It sounds amazing!!!
P.S. I don’t mind a little lemon juice, but 1/3 cup seems like a lot!
I knew the lemon juice was used to help prevent the apples from turning and to offset the sweetness of the apples, depending on which were used. This was truly too much though. Next time I’ll cut that in half.
That IS a rather involved recipe! I love pie, but like you, usually make a galette. Easier, and I prefer the way it looks. This looks spectacular, though. Really neat recipe — thanks.
I love galette’s they’re just so easy and always good. This was definitely a learning experience for the two of us and while the results were pretty spectacular it was a bit disappointing that the apples had a bit too much lemon flavor than the majority of us liked. I’d be willing to try it again.
This looks absolutely amazing! Can’t take my eyes off from that perfect crust 🙂
Oh thank you! I’m glad we attempted it. Next time we decide to make this again I’ll be sure to spread the prep out over at least 2 days.